| 2.2. Accessing the web-based user interface | ||
|---|---|---|
 | Chapter 2. Getting Started |  |
| 2.2. Accessing the web-based user interface | ||
|---|---|---|
| | Chapter 2. Getting Started | |
If you used Method 1, you should browse to the FireBrick's web interface as follows, or you can use the IP addresses detailed:-
If you used Method 2, you should browse to the FireBrick's IP address as listed below:-
If you used Method 3, you will need to be able to access a list of allocations made by the DHCP server in order to identify which IP address has been allocated to the FB6000, and then browse this address from your computer. If your DHCP server shows the client name that was supplied in the DHCP request, then you will see FB6000 in the client name field (assuming a factory reset configuration) - if you only have one FB6000 in factory reset state on your network, then it will be immediately obvious via this client name. Otherwise, you will need to locate the allocation by cross-referring with the MAC address range used by the FB6000 you are interested in - if necessary, refer to Appendix B to see how to determine which MAC address you are looking for in the list of allocations.
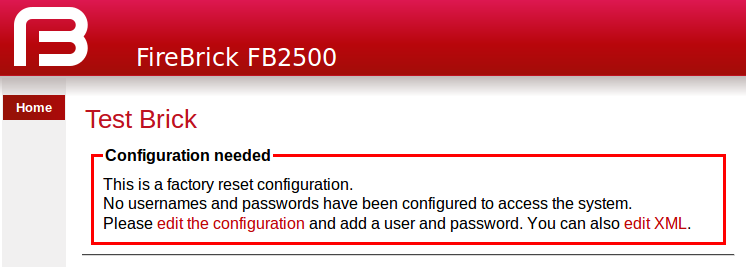
Once you are connected to the FB6000, you should see a page with "Configuration needed" prominently displayed, as shown below :-
Click on the "edit the configuration" link (red text), which will take you to the main user interface page for managing the configuration.
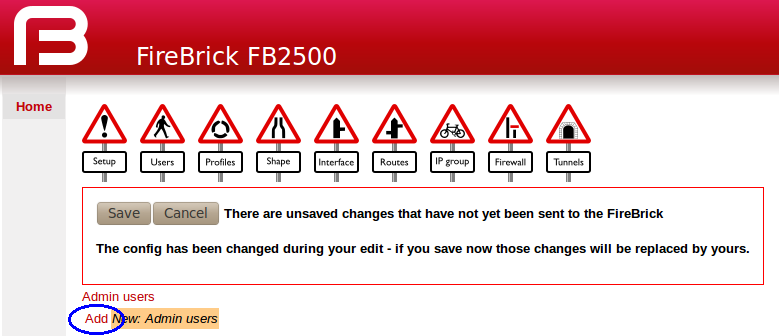
You now need to add a new user with a password in order to gain full access to the FireBrick's user interface.
Click on the "Users" icon, then click on the "Add" link to add a user. The "Users" page is shown below, with the "Add" link highlighted:-
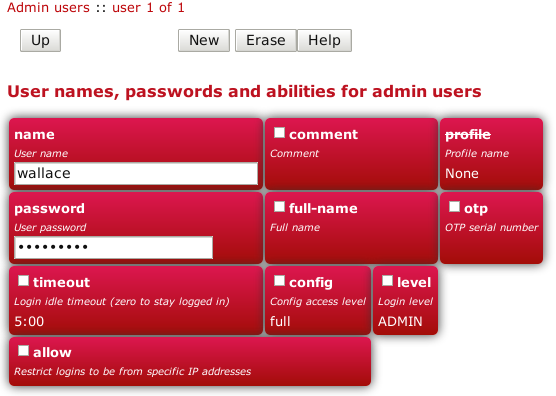
Enter a suitable username in the "Name" box, and enter a password (passwords are mandatory), as shown below. Leave all other checkboxes
un-ticked, but see the Tip below regarding the timeout setting.
Take care to enter the password carefully, as the FB6000 does not prompt you for confirmation of the password.
You may also want to increase the login-session idle time-out from the default of 5 minutes, especially if you are unfamiliar with
the user-interface. To do that, tick the checkbox next to
timeout, and enter an appropriate value as minutes, colon, and seconds, e.g. 15:00 for 15 minutes.
Click on the Save button near the top of the screen which will save a new configuration that includes your new user definition.
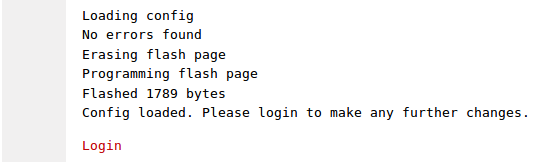
You should now see a page showing the progress of storing the new configuration in Flash memory :-
On this page there is a "Login" link (in red text)- click on this link and then log in using the username and password you chose.
We recommend you read Chapter 3 to understand the design of the FB6000's user interface, and then start working with your FB6000's factory reset configuration. Once you are familiar with how the user interface is structured, you can find more detail on setting up users in Section 4.1.
| |  | |
| Chapter 2. Getting Started |  | Chapter 3. Configuration |